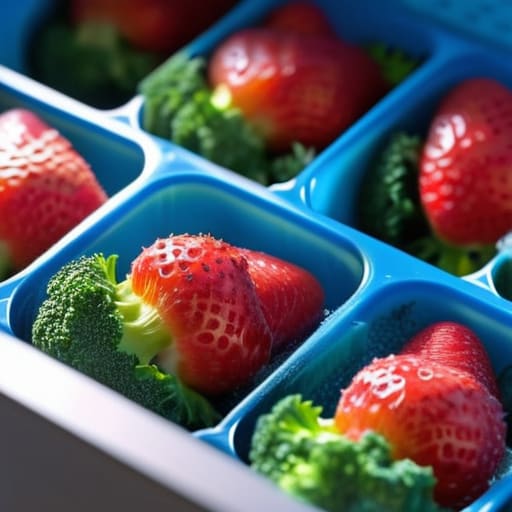
Have you ever stood in front of your freezer, staring at a suspicious, frost-covered block that might be a gourmet homemade lasagna or just a science experiment gone wrong? We’ve all been there—staring at a graveyard of freezer-burned mystery bags and wondering if we actually know how to freeze food without turning everything into a brick of ice. I used to think that if I didn’t have a professional-grade vacuum sealer and a PhD in food science, I was destined to waste half my groceries every single month.
But here’s the good news: you don’t need fancy gadgets or a mountain of expensive gear to master your kitchen. I’ve spent years refining my own color-coded system to make meal prep actually feel like a win rather than a chore. In this guide, I’m skipping the overcomplicated fluff and giving you my tried-and-true, no-nonsense hacks for preserving freshness. We’re going to focus on practical, small shifts that will help you tame the kitchen chaos and ensure your hard-earned money (and delicious meals) actually make it to your plate!
Table of Contents
Smart Tips for Freezing Vegetables and Fruits
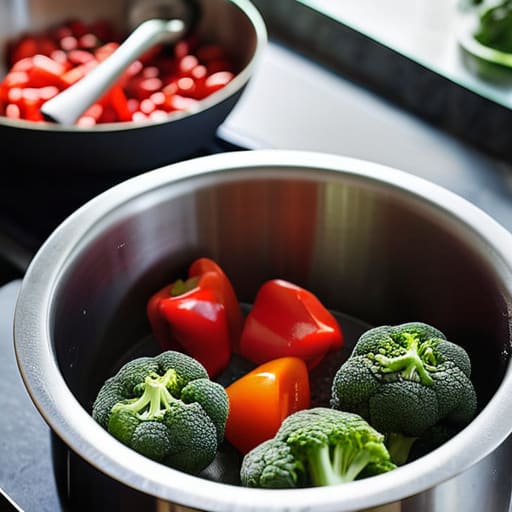
If you’re anything like me, you probably end up with a crisper drawer full of sad, wilted spinach every single week. Instead of letting that money go to waste, I’ve learned that freezing vegetables and fruits is a total game-changer for both my budget and my sanity. My golden rule? Never toss them in raw! Most veggies, especially things like broccoli or peppers, actually need a quick blanch in boiling water followed by an ice bath. This little step stops the enzymes that cause loss of color and flavor, ensuring your veggies don’t turn into mushy disappointment later on.
When it comes to the actual storage, I’m a bit of a nerd about it. I swear by vacuum sealing for long term storage because it’s the absolute best way of preventing freezer burn. If you don’t have a vacuum sealer, just make sure you squeeze every last bit of air out of your reusable silicone bags. It’s a tiny bit of extra effort, but trust me, your future self will thank you when you pull out perfectly vibrant berries for a morning smoothie!
Preventing Freezer Burn With Simple Best Practices
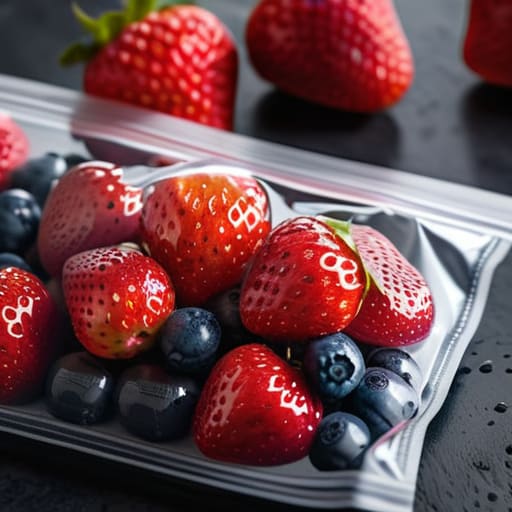
There is nothing quite as heartbreaking as pulling out a bag of expensive berries only to find them covered in those nasty, icy crystals. We’ve all been there, staring at a frost-covered mess that looks more like science experiments than food. The secret to preventing freezer burn really comes down to one thing: air. That dry, icy texture happens when air reaches the surface of your food, so your main mission is to create an airtight seal. I’m a huge fan of using heavy-duty freezer bags and squeezing out every single bubble of air before you zip them shut. If you’re feeling extra organized (and trust me, I am), vacuum sealing for long term storage is a total game-changer for keeping everything tasting fresh.
If you don’t have a vacuum sealer, don’t sweat it! You can still master some solid best practices for food storage just by using the “double bag” method or layering parchment paper between items. I also love using my color-coded labels to mark exactly when something went into the freezer. It helps me keep track of how long can frozen food last so I’m not playing kitchen roulette with leftovers!
My Go-To Strategies for a Stress-Free Freezer
- Invest in a good quality vacuum sealer if you can—it’s a total game-changer for keeping air out and flavor in, much like my obsession with color-coded spreadsheets!
- Always leave a little “wiggle room” in your containers; liquids expand as they freeze, and nobody wants a freezer-shaped explosion in their kitchen.
- Portion everything out into single-serving sizes before you freeze, so you aren’t stuck defrosting a massive block of sauce when you only needed a splash for dinner.
- Label everything with a permanent marker and the date; trust me, “mystery frozen blob” is not a meal anyone wants to encounter three months later.
- Flash-freeze smaller items like berries or herbs on a baking sheet first before moving them to a bag, which prevents them from turning into one giant, unusable clump.
Quick Wins for Your Freezer Success
Don’t skip the prep work—blanching your veggies or using airtight, vacuum-sealed bags is the secret sauce to avoiding that dreaded freezer burn.
Think ahead by portioning everything out; it’s much easier to grab one small bag for a quick meal than to thaw a giant block of frozen food.
Label everything with a bright marker! Trust me, my color-coded system saved me from a very confusing (and slightly gross) kitchen experiment once or twice.
My Golden Rule for the Freezer
“Think of your freezer not as a dark void where leftovers go to die, but as your secret weapon for a stress-free week; a little bit of organized prep today is basically a gift to your future, exhausted self!”
Emily Carter
Taming the Kitchen Chaos
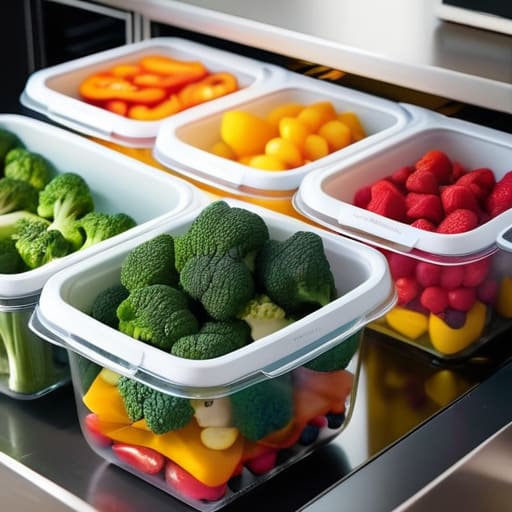
At the end of the day, mastering the freezer is all about working smarter, not harder. We’ve covered a lot of ground—from the specific ways to prep your fruits and veggies so they don’t turn into mush, to those essential little habits like using airtight containers and double-wrapping to stop freezer burn in its tracks. It might feel like a lot of extra steps when you’re standing in the kitchen after a long workday, but I promise you, the payoff is so worth it. Having a stash of perfectly preserved ingredients means fewer wasted groceries and way more “me time” during the week.
I know that sometimes, the sheer amount of “life admin” can feel overwhelming, but remember that you don’t have to do everything at once. You don’t need a professional-grade walk-in freezer or a culinary degree to make this work; you just need a little bit of intention. Start with one small batch this weekend, and before you know it, you’ll have a system that works for you. I truly believe that these tiny, practical shifts in how we manage our kitchens can lead to a much more balanced and stress-free life. You’ve got this!
Frequently Asked Questions
Is there a specific way I should thaw everything out so I don't accidentally ruin the texture of my cooked meals?
Oh, I have been there! There is nothing worse than looking forward to a delicious meal only to find it’s turned into a mushy mess. My golden rule? Patience is your best friend. Whenever possible, thaw your cooked meals in the fridge overnight. It’s slow, gentle, and keeps the texture intact. If you’re in a rush, a quick warm-up in a pan over low heat works wonders—just avoid the microwave if you can!
How long can I actually keep things in the freezer before they start losing their flavor or becoming unsafe?
This is the million-dollar question, right? While your freezer technically keeps things “safe” indefinitely, flavor is a different story. For the best results, I usually aim for the “sweet spot”: most veggies and meats are peak deliciousness within 3 to 6 months. Beyond that, things can get a little… meh. I actually keep a color-coded spreadsheet to track my freezer dates—it’s a total lifesaver for avoiding that sad, freezer-burned mystery meat!
Do I really need to buy all those fancy vacuum sealer bags, or can I just make it work with what I already have in my kitchen cabinets?
Honestly? You can totally skip the fancy vacuum sealer for now! While they’re great, I’m a firm believer in working with what you’ve already got. A good quality Ziploc bag and a steady hand can do wonders. My little hack? Use a straw to suck out the extra air before sealing—it’s a total game-changer for preventing freezer burn. Let’s save that extra cash for some high-quality spices or a fun new cookbook instead!