If you’ve ever stared at a recipe calling for a 48-hour cold ferment and felt your soul slowly leave your body, you are not alone. I used to think that learning how to make homemade pizza required a professional-grade stone oven and the patience of a saint, but I was completely wrong. After a particularly chaotic Tuesday in my tiny NYC apartment—where I accidentally turned my kitchen into a flour-covered disaster zone—I realized that the secret isn’t about expensive gear or complex chemistry; it’s about simplifying the process so you actually enjoy it.
I’m not here to give you a lecture on hydration percentages or high-stress culinary techniques that leave you more exhausted than when you started. Instead, I want to share the streamlined, realistic method I use when I want that perfect, crispy crust without the headache. I’ll walk you through the essential shortcuts and small, practical shifts that turn a messy kitchen into a triumphant pizza night. Let’s ditch the perfectionism and get cooking.
Table of Contents
Recipe Details
Ingredients
- 250g All-purpose flour
- 150ml Warm water
- 7g Active dry yeast
- 1 tsp Salt
- 1/2 cup Tomato sauce
- 1.5 cups Shredded mozzarella
- 1/4 cup Fresh basil leaves
Recipe Instructions
Step 1
First things first, let’s get that dough moving. If you’re using store-bought dough, just let it sit out on the counter for about 30 minutes to reach room temperature—trust me, it makes it so much easier to stretch without it snapping back like a rubber band. If you’re making it from scratch, mix your flour, yeast, water, and a pinch of salt in a bowl until it’s a shaggy mess, then knead it on a floured surface until it feels smooth and elastic.
Step 2
Once your dough is ready, it’s time to create your canvas. Instead of reaching for a heavy rolling pin (which can sometimes squash all those lovely air bubbles we worked so hard for), I like to use my hands to gently stretch the dough into a circle on a piece of parchment paper. Don’t worry if it looks a little wonky or asymmetrical; that’s just the charm of a homemade crust!
Step 3
Now for the fun part: the toppings! Spread a thin layer of your favorite tomato sauce across the dough, leaving just a little bit of space around the edges for that crispy crust. I usually go heavy on the mozzarella, but feel free to get creative here. Just a quick tip from my color-coded kitchen notes: try to avoid overloading the center with too many wet toppings, or you might end up with a soggy middle.
Step 4
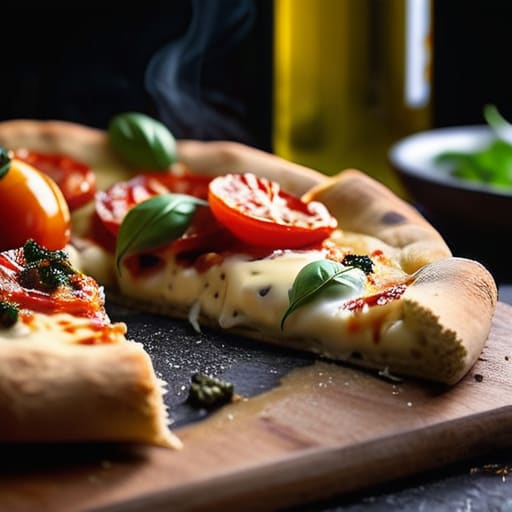
Crank your oven up as high as it will go—usually around 475°F or 500°F. We want that oven screaming hot to mimic a professional pizza stone. Slide your pizza (parchment paper and all!) onto a preheated baking sheet or a stone, and let it bake for about 10 to 15 minutes. You’re looking for that perfectly golden-brown color and cheese that’s bubbly and slightly charred in spots.
Step 5
Finally, the hardest part: waiting for it to cool for just a minute or two before slicing. I love to hit it with a quick drizzle of extra virgin olive oil or a sprinkle of fresh basil to make it feel extra fancy. Grab a glass of wine, find a comfortable spot, and savor the victory of a delicious meal you built from scratch!
Mastering the Best Pizza Dough Recipe With Ease
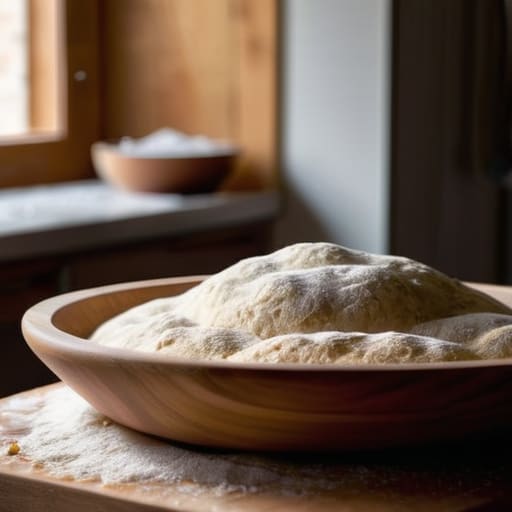
Now, I know what you’re thinking: “Emily, I’m not a professional pizzaiolo, how am I supposed to get that perfect crunch?” Trust me, I’ve been there (and yes, my color-coded kitchen notes have seen some serious failures). The secret to mastering the best pizza dough recipe isn’t just about the flour; it’s all about patience. If you have the time, let your dough undergo a slow rise in the fridge overnight. These yeast dough fermentation tips are a total game-changer for developing those complex, sourdough-like flavors that make your kitchen smell like a high-end Italian bistro.
When it comes to the actual bake, don’t be intimidated by the heat! Since we aren’t working with a thousand-degree wood-fired oven, you’ll want to focus on crispy pizza crust techniques like using a preheated baking stone or even a heavy inverted sheet pan. This helps mimic that professional heat distribution. Once you’ve nailed the base, the world is your oyster with easy pizza toppings ideas—from classic Margherita to a spicy honey and pepperoni combo. Just keep it simple, have a glass of wine ready, and enjoy the process!
Tiny Yeast Dough Fermentation Tips for Big Flavor
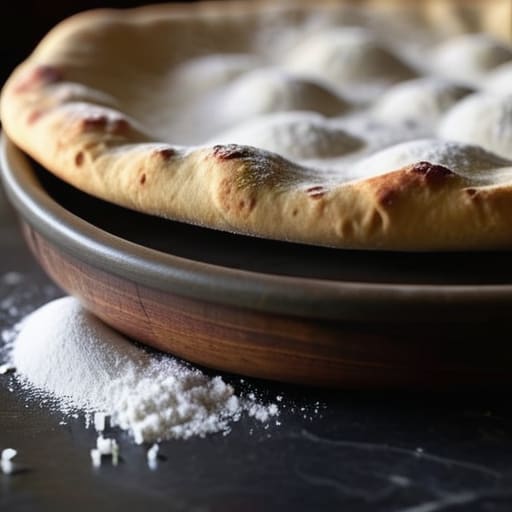
Now, if you really want to level up from “good” to “restaurant-quality,” we need to talk about the magic of patience. I know, I know—as someone who lives by my color-coded productivity spreadsheets, I usually love a quick win, but when it comes to yeast dough fermentation tips, slow and steady wins the race every single time. If you have the headspace, try letting your dough rise in the fridge overnight. This cold fermentation process allows the yeast to work more slowly, developing those complex, slightly tangy flavors that make the best pizza dough recipe truly stand out.
Think of it as a little gift to your future self! While you’re sleeping, the enzymes are busy transforming simple flour and water into something spectacular. If you’re in a rush, don’t panic—you can still get amazing results by just keeping your dough in a warm, draft-free spot. The goal isn’t perfection; it’s about finding that sweet spot where the dough feels alive and bubbly. Trust the process, and I promise your taste buds will thank you.
Five Little Hacks for Pizza Perfection
- Don’t be afraid to go heavy on the preheat—get that oven (and your baking stone or steel) screaming hot before the dough even touches it. A hot surface is the secret to that crispy, non-soggy crust we all crave.
- Less is definitely more when it comes to toppings. I know it’s tempting to pile on everything in the fridge, but a heavy layer of cheese and sauce can turn your beautiful crust into a watery mess. Think quality over quantity!
- Give your mozzarella a little “nap” by patting it dry with paper towels if you’re using fresh buffalo mozzarella. It’s a tiny extra step that prevents your pizza from turning into a literal soup in the middle of the oven.
- Use a little bit of cornmeal or semolina flour on your pizza peel. It acts like tiny ball bearings, helping your dough slide effortlessly onto the stone instead of getting stuck and ruining your hard work.
- Embrace the “ugly” pizza! If your crust isn’t a perfect circle or your toppings look a little chaotic, don’t sweat it. The best part of homemade is that it tastes like home, not a factory-made cardboard disc.
My Top Three Pizza Success Secrets
Don’t let the dough intimidate you; remember that a little patience during the fermentation process is what transforms a basic crust into something truly gourmet.
Embrace the mess in your kitchen—whether it’s a dusting of flour or a stray splash of sauce, the joy of homemade pizza is in the imperfect, delicious process.
Think of your toppings like a color-coded spreadsheet: keep them balanced and don’t overdo it, so every bite stays perfectly delicious instead of a soggy mess.
The Secret Ingredient
“Making pizza at home isn’t about achieving that perfect, Michelin-star crust on your first try; it’s about embracing the flour-dusted counters and the joy of creating something delicious from scratch. Honestly, the best part isn’t even the flavor—it’s the little moment of calm you find in the process.”
Emily Carter
Slice, Eat, Repeat
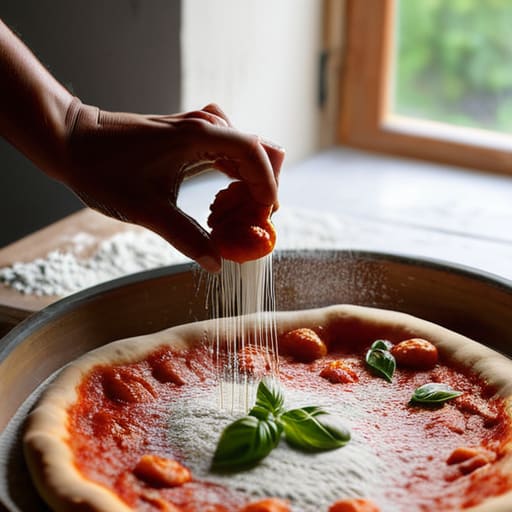
At the end of the day, making pizza from scratch is really about embracing the process rather than obsessing over a perfect circle. We’ve covered everything from mastering that chewy, golden dough to the magic of slow fermentation that brings those complex flavors to life. Remember, it’s not just about the ingredients you toss into the oven; it’s about the patience you put into the rise and the heat you use to get that perfect crust. Whether you’re a seasoned pro or a total beginner, don’t let a little flour on your apron discourage you—it’s all part of the deliciously messy journey of creating something wonderful with your own two hands.
If there’s one thing I’ve learned from my time navigating both corporate spreadsheets and chaotic kitchens, it’s that the best things in life aren’t always perfectly planned. Sometimes, the most fulfilling moments come from the simple act of slowing down to knead dough or experimenting with a new topping combination. I hope this guide helps you turn your kitchen into a little sanctuary of creativity and joy. So, grab a glass of wine, turn up your favorite playlist, and remember that perfection is overrated—what really matters is the flavor, the fun, and the people you share the meal with. Happy baking!
Frequently Asked Questions
Can I make the dough ahead of time if I want to host a pizza party on a specific night?
Oh, absolutely! In fact, making your dough ahead of time is my favorite productivity hack for hosting. I actually have a color-coded spreadsheet for my meal prep, and “dough prep” is always a top priority. You can let it rise in the fridge overnight—the cold fermentation actually develops a way better flavor, too! Just pop it in there a day early, and you’ll be totally chill when your guests arrive.
What’s the best way to get that crispy, restaurant-style crust if I don't have a professional pizza oven?
Honestly, I used to stress about this constantly, but you don’t need a $1,000 oven to get that crunch! My secret weapon? A heavy cast-iron skillet. Preheat it in your oven until it’s screaming hot, then slide your dough right onto it. It mimics that intense bottom heat perfectly. Also, pro-tip: turn your oven to its highest setting and use a pizza stone if you have one. It’s a total game-changer!
I’m a bit of a flour novice—is there a specific type I should be looking for to get the best texture?
Don’t let the flour aisle intimidate you—it’s way less complicated than it looks! Since you’re after that perfect texture, I’d highly recommend grabbing some “00” flour if you can find it; it’s super finely milled and makes for a dreamier, silkier crust. If that feels a bit too fancy for your local grocery run, all-purpose works just fine too. Just avoid bread flour if you want to keep things light and airy!