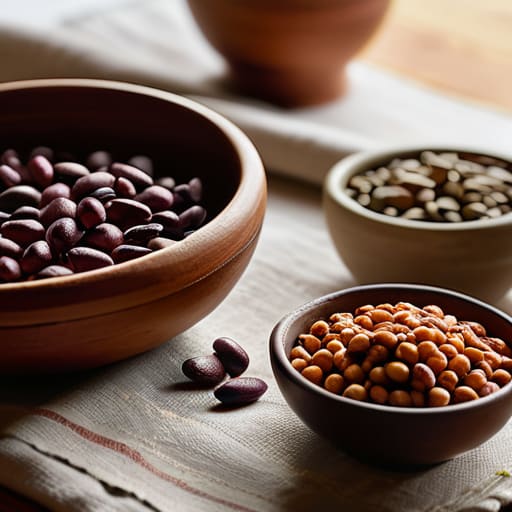
I still remember my first tiny apartment in NYC, staring at a bag of dried chickpeas like they were some sort of complex mathematical equation I wasn’t qualified to solve. I had spent way too much money on takeout because I was terrified that if I tried to figure out how to cook beans and lentils on my own, I’d end up with something either rock-hard or a mushy, unidentifiable mess. There is this weird, unnecessary pressure in the culinary world to make legume prep feel like a high-stakes science experiment, but honestly? It’s much simpler than that.
I’m not here to give you a lecture or a list of thirty different spices you’ll never use. Instead, I want to share the actual, battle-tested methods I’ve refined through years of experimental kitchen sessions and the occasional failed dinner party. I promise to show you the small, practical shifts—like the perfect soaking window and the right heat levels—that take the guesswork out of the process. We’re going to master these pantry staples together so you can spend less time stressing over the stove and more time actually enjoying your food.
Table of Contents
Soaking Dried Beans vs No Soak Finding Your Rhythm
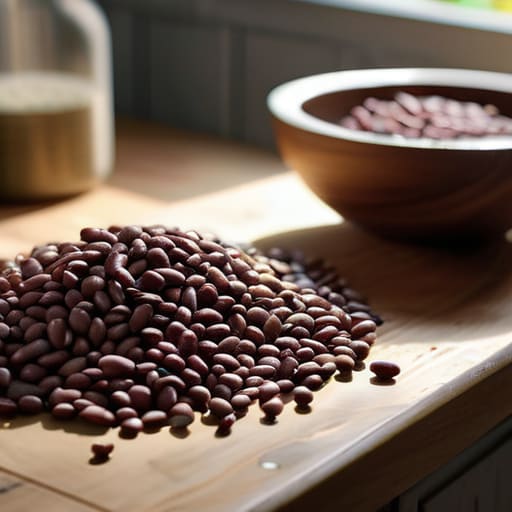
Soaking dried beans vs no soak: Finding Your Rhythm
This is where I usually pull out my color-coded spreadsheet to weigh the pros and cons! If you’re like me and occasionally find yourself staring at a pile of dried chickpeas at 6:00 PM on a Tuesday, you’ve probably wondered if you can skip the prep. The truth is, there’s no single “right” way, but there is definitely a best way for your schedule. Soaking is my go-to when I have the foresight to prep the night before; it significantly reduces cooking times for different legumes and can make them much easier on your digestion.
However, if you’re living that spontaneous freelance life where plans change in a heartbeat, don’t panic. You can absolutely skip the soak and rely on a stovetop bean cooking method or, if you’re feeling extra efficient, jump straight into some pressure cooker bean recipes. The real secret to success when you’re in a rush is just giving them a little extra time to simmer. My biggest tip? Watch them closely toward the end—the goal is a creamy center without preventing mushy beans from turning into a total puree!
Mastering the Stovetop Bean Cooking Method With Ease
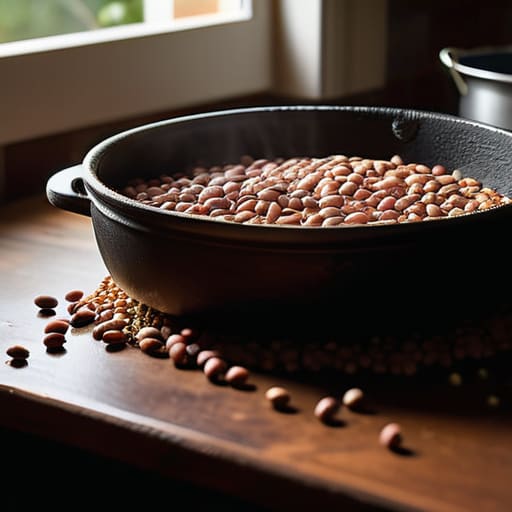
Once you’ve decided whether you’re a “soak overnight” person or a “dive right in” type, it’s time to get the heat going. For the stovetop bean cooking method, I always start by rinsing my legumes in a fine-mesh strainer—it’s a tiny step, but it makes a huge difference in the final flavor. Grab your heaviest pot (a Dutch oven is my absolute favorite for heat distribution), add your beans, and cover them with a few inches of fresh water. Bring that to a boil, then immediately drop the heat to a low, steady simmer.
The biggest mistake I see people make is rushing the process with high heat. If you crank up the flame, you’ll end up with unevenly cooked beans that are hard on the outside but soft in the middle. To avoid preventing mushy beans, keep a close eye on the texture as they soften. Remember, cooking times for different legumes vary wildly—a quick lentil might take twenty minutes, while a hearty kidney bean could take over an hour. It’s all about patience and tasting as you go!
My Little Secrets for Perfect Beans Every Single Time
- Don’t be afraid of salt! I used to think salting the water early would make my beans tough, but I was totally wrong. Adding a generous pinch of salt right at the start actually helps season them deeply and helps the skins stay intact.
- Flavor is everything, so ditch the plain water. Instead of just using plain old tap water, try using a flavorful veggie broth or even adding a smashed garlic clove and a bay leaf to the pot. It’s a tiny step that makes a massive difference in how they taste.
- Watch the acid! This is a big one for me. If you’re adding tomatoes or lemon juice, wait until the beans are almost completely soft before you toss them in. Acid can actually prevent beans from softening properly, and nobody wants a crunchy bean in their delicious stew.
- Keep an eye on the foam. As your beans simmer, you might see a bit of greyish foam rising to the top. Don’t panic—it’s totally normal! Just use a spoon to skim it off the surface to keep your cooking liquid looking clean and tasting bright.
- Let them rest in the liquid. If you have a little extra time, let your cooked beans sit in their cooking liquid for a few minutes after you turn off the heat. It helps them soak up all that extra goodness and ensures they stay incredibly creamy and delicious.
Quick Wins for Your Next Batch
Don’t stress the soak—if you’re short on time, just use more water and a little extra patience; your beans will still turn out delicious.
Seasoning is a marathon, not a sprint—wait until the beans are nearly tender before adding salt to ensure they stay creamy rather than tough.
Think ahead and cook in bulk; I always freeze extra portions in small containers so I have a “productivity hack” ready for those hectic weeknights.
## The Secret to Kitchen Confidence
“Cooking beans and lentils isn’t about following a rigid, scary recipe; it’s about learning the rhythm of the simmer and realizing that a little patience—and maybe a quick color-coded prep list—is all you need to turn humble pantry staples into something truly soul-warming.”
Emily Carter
Bringing It All Home
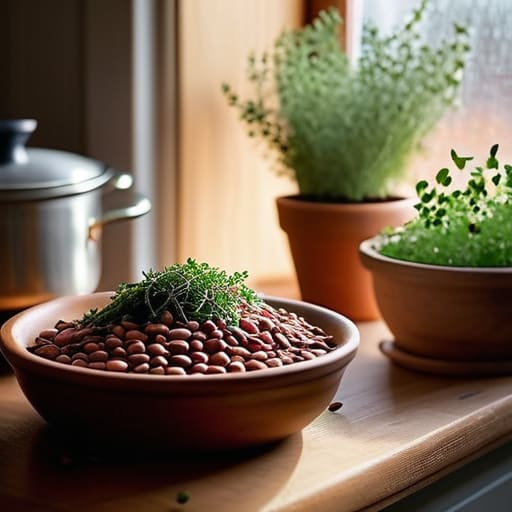
At the end of the day, mastering beans and lentils is really about finding the workflow that fits your specific lifestyle. Whether you’re a “soak everything overnight” kind of person or you prefer the efficiency of the no-soak method, the goal is to get those textures just right. Remember, it’s all about the little details—like seasoning your cooking water or keeping a close eye on the stovetop to avoid a messy boil-over. Once you get the hang of these foundational techniques, you’ll realize that these humble pantry staples are actually your secret weapon for effortless, healthy eating.
I know that jumping into scratch cooking can sometimes feel like just another thing on an already overflowing to-do list, but I promise it’s worth the extra few minutes. There is something so incredibly grounding about preparing a meal from its most basic form. It’s a small, intentional shift that turns a chaotic weeknight into a moment of genuine nourishment. So, grab a bag of dried lentils, set your timer, and don’t be afraid to experiment with different spices as you go. You’ve totally got this, and your future, well-fed self will definitely thank you!
Frequently Asked Questions
Can I use a pressure cooker or Instant Pot to speed things up, or should I stick to the stovetop?
Speedy Simmers: Is the Instant Pot Worth the Hype?
How do I know when my beans are actually done without turning them into mush?
The “mush factor” is real, and I’ve definitely been there! My trick? Start testing about 15 minutes before you think they’re done. Pull a few out with a slotted spoon, let them cool for a second, and try the “squeeze test.” You’re looking for a creamy center without any chalky resistance. If they’re still a bit firm, give them another five minutes. It’s all about that perfect, al dente bite!
Is there a trick to adding salt or acidic ingredients like tomatoes so they don't mess with the cooking time?
This is such a great question—and honestly, it’s one of those little kitchen science bits that can totally throw off your flow! My rule of thumb? Hold off on the salt and anything acidic (like tomatoes or lemon juice) until the beans are actually tender. Adding them too early can toughen up that skin and make them take forever to soften. Wait until they’re creamy and delicious, then season away!