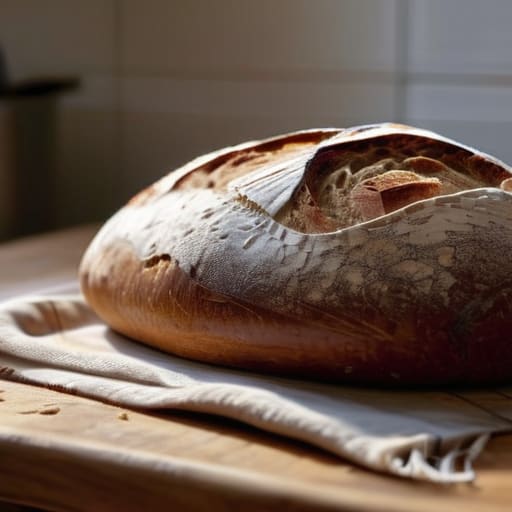
I still remember the first time I tried to tackle a sourdough starter in my tiny, cramped NYC apartment. I had spent forty dollars on “artisanal” flour and three days obsessively checking a temperature gauge, only to end up with a literal brick that could have doubled as a doorstop. It was frustrating, messy, and honestly, a total waste of a Saturday. I realized then that most guides on how to bake bread at home make it sound like you need a chemistry degree and a professional kitchen to get it right. But here’s the truth: you don’t need a mountain of expensive gadgets or a perfectly controlled laboratory environment to make something actually delicious.
I’m not here to sell you on a complicated, twelve-step ritual that eats up your entire weekend. Instead, I want to show you how to simplify the process so it actually fits into your busy life. I’ll be sharing my own tried-and-true, no-nonsense methods that focus on small, practical shifts rather than perfectionism. We’re going to strip away the fluff and get straight to the stuff that matters: great flavor, a satisfying crust, and a little bit of joy in your kitchen.
Table of Contents
Small Steps to Mastering Bread Making for Beginners
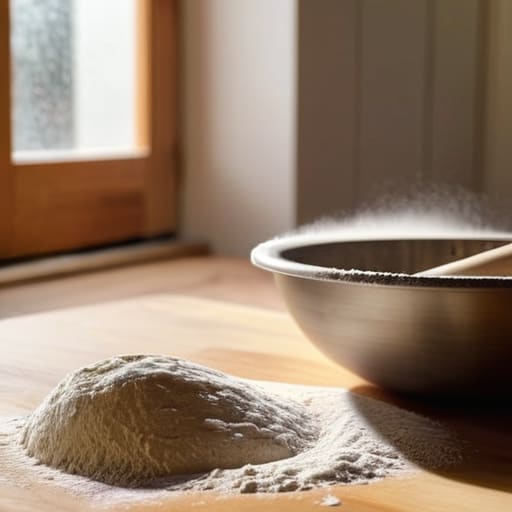
If you’re feeling a little intimidated by the idea of a flour-covered kitchen, let’s take a deep breath together. You don’t need to be a professional chef to get started; honestly, even my first few loaves looked more like delicious hockey pucks than actual bread! The secret to success with bread making for beginners isn’t about having a fancy kitchen; it’s about understanding the rhythm of the ingredients. Start by focusing on just a few essential bread baking tools—a decent mixing bowl, a scale (trust me, my color-coded spreadsheets have taught me that precision is everything!), and a sturdy spatula.
Once you have your gear, the real magic happens when you start working with the science. Don’t let the yeast fermentation process scare you off; think of it as just giving your dough a little nap so it can grow. I’ve found that mastering a few basic kneading dough techniques early on makes the whole process much more tactile and, dare I say, therapeutic. It’s all about those small, manageable wins that eventually lead to that perfect, crusty loaf.
The Magic of the Yeast Fermentation Process
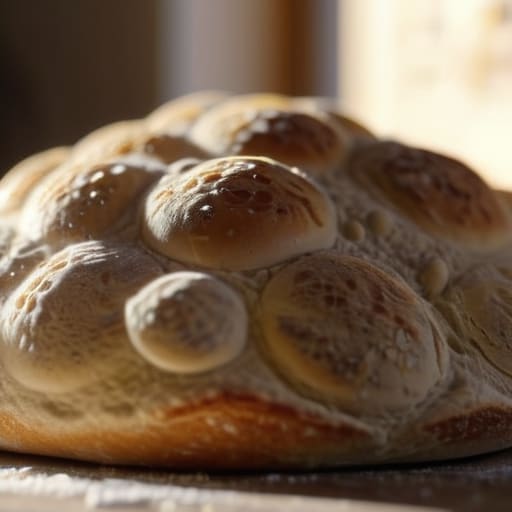
Now, let’s talk about the actual “magic” part, because this is where things get a little bit sciencey (but don’t worry, I promise it’s not a boring lecture). When we dive into the yeast fermentation process, we’re essentially watching a tiny, invisible workforce go to town on your dough. These little microbes consume the sugars in your flour and release carbon dioxide, which is exactly what creates those beautiful, airy bubbles we all crave. It’s honestly a bit mind-blowing to think that something so small is doing all the heavy lifting to transform a sticky mess into a structured loaf.
If you’re feeling a bit impatient—and trust me, as someone who loves a good color-coded schedule, I know the struggle—just remember that time is your best friend here. This stage is all about patience and observation. You aren’t just waiting for the clock to tick; you’re waiting for the dough to tell you it’s ready. Learning to read these subtle changes is one of the most rewarding parts of bread making for beginners, and once you get the hang of it, you’ll feel like a total kitchen wizard.
My Secret Sauce: 5 Pro-Tips to Keep Your Bread-Making Journey Stress-Free
- Invest in a decent digital kitchen scale. I know, I know, I’m a total spreadsheet nerd, but measuring flour by volume is a recipe for disaster. A few extra grams can be the difference between a fluffy loaf and a literal brick!
- Don’t fear the “ugly” stage. Your dough might look sticky, lumpy, or just plain weird during the first rise, but trust the process. I’ve learned that even my most chaotic-looking doughs usually turn into something delicious once they hit the oven.
- Get to know your water temperature. Think of it like a cozy bath—if it’s too hot, you’ll kill off your yeast friends, and if it’s too cold, they’ll just take a nap. Aim for that lukewarm, “just right” sweet spot.
- Let it breathe! One of the biggest mistakes I see is rushing the proofing process. If you give your dough the time it needs to expand, you’re rewarded with that incredible airy texture we’re all chasing.
- Listen to the crust. When you pull your loaf out of the oven, listen closely—you might actually hear it “singing” (that’s just the crust crackling as it cools). It’s one of those tiny, magical moments that makes all the floury mess totally worth it.
My Top Three Bread-Making Nuggets
Don’t let perfectionism ruin your fun; even a slightly wonky-looking loaf tastes incredible when it’s fresh out of the oven.
Patience is your secret ingredient—giving the dough the time it needs to rise is what transforms a simple mix into something magical.
Keep a little notebook (or a color-coded spreadsheet, if you’re like me!) to track your wins and tweaks so you can master your own unique recipe.
The Soul of the Sourdough
“Baking bread isn’t about following a rigid blueprint or achieving Instagram-perfect crusts; it’s about those quiet, messy moments of creation that turn a chaotic kitchen into a sanctuary.”
Emily Carter
From Flour to Fulfillment
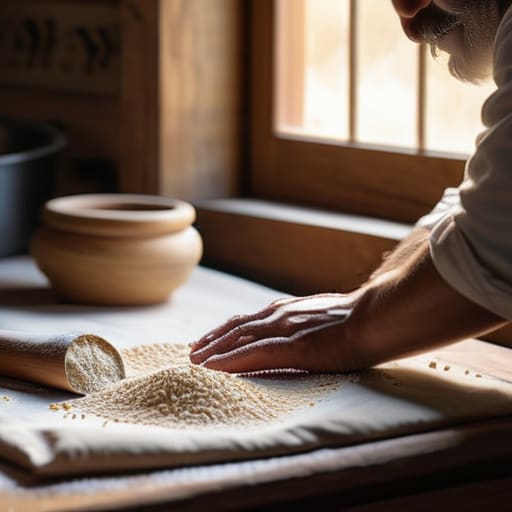
So, there you have it! We’ve journeyed from understanding the science of yeast to breaking down those daunting first steps into manageable, bite-sized pieces. Remember, baking bread isn’t about achieving technical perfection on your very first try; it’s about embracing the process of learning through doing. Whether you’re obsessing over the hydration levels in your dough or just trying to figure out why your loaf looks more like a pancake than a boule, every single attempt is a victory. Just keep your workspace organized (my color-coded kitchen notes swear by it!), stay patient with your fermentation times, and don’t be afraid to get a little flour on your hands.
At the end of the day, I truly believe that the magic of homemade bread lies in the way it slows us down. In our hyper-connected, chaotic world, there is something incredibly grounding about the rhythmic kneading of dough and the heavenly scent of a fresh loaf wafting through your home. It’s a small, beautiful way to reclaim your time and nurture your soul. So, go ahead—preheat that oven, grab your mixing bowl, and enjoy the delicious journey. You’ve totally got this, and I can’t wait to hear about your first golden, crusty masterpiece!
Frequently Asked Questions
I tried making a loaf last weekend and it turned out as hard as a brick—what am I doing wrong with my kneading or proofing?
Oh no, the dreaded “bread brick”! I have definitely been there—my first attempt was basically a weapon. Usually, if it’s that dense, it’s a sign that the gluten didn’t develop enough or the yeast didn’t get enough time to work its magic. Check your kneading; you want that dough to feel smooth and elastic, not shaggy. Also, don’t rush the proofing! If the dough hasn’t doubled in size, it won’t have that airy, soft crumb we’re after.
Do I really need all those fancy kitchen gadgets, or can I actually get away with using basic tools I already have in my pantry?
Honestly? You can totally skip the fancy gadget aisle. I’ve definitely been guilty of wanting every specialized tool in my color-coded kitchen inventory, but bread is surprisingly forgiving. A heavy pot, a wooden spoon, and even a regular mixing bowl are all you really need to start. Don’t let the lack of a professional proofing basket stop you—a clean kitchen towel works just fine. Let’s keep it simple and just get baking!
Is it worth the extra effort to make my own starter, or should I just stick to the easy-to-use yeast packets for now?
Honestly, it’s a bit of a “choose your own adventure” moment! If you’re craving that complex, tangy sourdough flavor and love a good project, go for the starter—it’s basically like adopting a tiny, flour-based pet. But, if you’re currently juggling a million things (trust me, I get it), stick to the yeast packets. They’re reliable, fast, and less stressful. Let’s nail the basics first before we dive into the deep end!