Have you ever been at a gorgeous dinner—the kind where the lighting is moody, the food looks like a work of art, and the company is perfect—only to pull out your phone and realize your photo looks like a blurry, grainy mess? It’s incredibly frustrating when your digital memory doesn’t match the actual magic of the moment. I used to spend way too much time scrolling through my camera roll, wondering why my shots never quite captured the vibe I was feeling. I realized pretty quickly that learning how to take better phone photos isn’t about owning the latest $1,200 Pro model or mastering complex manual settings that make my brain hurt.
I’m not here to sell you on expensive gear or complicated editing apps that take hours to navigate. Instead, I want to share the small, practical shifts that actually move the needle. We’re going to focus on a few simple, high-impact tweaks—from mastering natural light to understanding basic composition—that you can implement in seconds. My goal is to help you capture your life with more clarity and a lot less stress, so you can get back to actually enjoying the moment.
Table of Contents
- Small Shifts in Mobile Photography Composition Rules
- Simple Smartphone Lens Cleaning Tips for Clarity
- Lighting Secrets: How to Make Your Photos Pop Without a Pro Studio
- Quick Wins for Your Next Photo Session
- ## A Little Perspective Goes a Long Way
- Capturing the Magic in Every Moment
- Frequently Asked Questions
Small Shifts in Mobile Photography Composition Rules
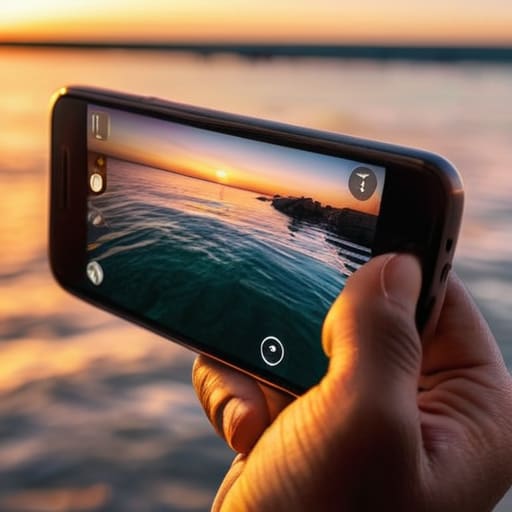
Now, let’s talk about the “math” of a good photo, but don’t worry—I promise this isn’t a math lecture! I know, I know, my obsession with spreadsheets makes me sound intense, but thinking about mobile photography composition rules is actually just a way to bring a little intentionality to your shot. Instead of just pointing and shooting at whatever is in front of you, try turning on your camera’s grid lines. Using the “Rule of Thirds” is a total game-changer; if you place your subject along those intersecting lines rather than dead center, you’ll instantly give your photos a more professional, balanced feel.
Another quick win is playing with your perspective. Most of us take photos from eye level, which can get a little repetitive. Try crouching down low or even finding a high vantage point to look down on your subject. It adds a sense of drama that a standard shot just can’t capture. Also, a tiny but crucial tip: before you even think about composition, give your lens a quick wipe with your shirt! It sounds silly, but getting rid of those pesky fingerprints is the easiest way to stop your photos from looking hazy and dull.
Simple Smartphone Lens Cleaning Tips for Clarity
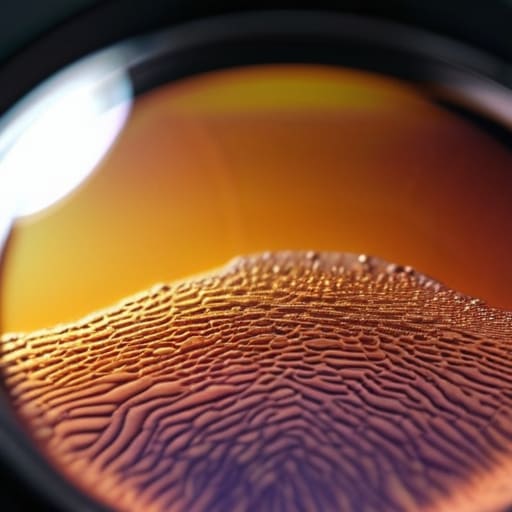
Okay, let’s get real for a second: before you even worry about mastering complex mobile photography composition rules, there is one tiny, incredibly annoying thing that is probably sabotaging your shots. I’m talking about those greasy, fingerprint-smudged lenses we all carry around in our pockets. I used to wonder why my sunset photos looked like they were shot through a layer of Vaseline, and then I realized—I hadn’t wiped my phone in three days! It sounds silly, but a quick wipe can be the difference between a blurry mess and a crisp, professional-looking image.
When it comes to smartphone lens cleaning tips, please, I beg you, stay away from your t-shirt. I know it’s tempting when you’re out and about, but those tiny fabric fibers can actually cause micro-scratches over time. Instead, grab a dedicated microfiber cloth—the kind you use for your glasses. If you’re feeling extra prepared (and you know me, I love a good organized kit), keep a small one tucked in your bag. A gentle, circular motion is all it takes to clear the fog and finally let that light shine through clearly.
Lighting Secrets: How to Make Your Photos Pop Without a Pro Studio
- Chase the natural light. I’ve learned the hard way that overhead office lights are the enemy of a good vibe; instead, try to find a window or head outside during the “golden hour” right before sunset to get that dreamy, soft glow.
- Avoid the flash frenzy. Unless you’re going for a specific, moody retro look, skip the built-in flash—it tends to flatten everything out and make your subjects look a little washed out.
- Tap to focus and expose. Don’t just point and shoot; tap the screen on the part of the image you want to be sharp, and then slide your finger up or down to manually adjust the brightness so you aren’t stuck with a photo that’s too dark or way too bright.
- Use the “Grid” trick. If you haven’t already, go into your camera settings and turn on the grid lines; it’s a total game-changer for keeping your horizons straight and making sure your subject isn’t awkwardly lopsided.
- Embrace the zoom (but sparingly). Digital zoom can make your photos look grainy and “crunchy,” so if you can, just physically move a step closer to your subject rather than pinching the screen—your pixels will thank you!
Quick Wins for Your Next Photo Session
Don’t overlook the basics—a quick wipe of your lens with a soft cloth can be the difference between a blurry mess and a crystal-clear memory.
Master the art of composition by playing with simple rules like the rule of thirds; it’s a tiny shift that makes your shots look instantly more professional.
Focus on the lighting and the angle rather than the gear; the best camera is the one you have in your hand, so use what you’ve got to capture the vibe.
## A Little Perspective Goes a Long Way
“You don’t need a professional studio or a thousand-dollar camera to capture something beautiful; honestly, most of the magic just comes down to how you see the light and where you choose to stand.”
Emily Carter
Capturing the Magic in Every Moment
At the end of the day, taking better photos isn’t about owning the latest $1,200 smartphone or mastering complex professional software. It really comes down to those tiny, intentional habits we talked about—like taking ten seconds to wipe your lens so your shots aren’t a blurry mess, or playing around with composition to find a more compelling perspective. Whether you are framing a beautiful sunset or just trying to get a decent shot of your experimental dinner, these small shifts make a massive difference. Once you start looking at your phone through a slightly more creative lens, you’ll realize that great photography is accessible to everyone, regardless of their gear.
I know life can feel incredibly chaotic sometimes, but I truly believe there is so much beauty to be found in the middle of the mess if we just slow down enough to notice it. Don’t get too caught up in perfectionism or worrying about how many likes your post gets; instead, use your camera as a tool to document the joy and the small, quiet moments that make your life uniquely yours. Go out there, experiment, and most importantly, have fun with it! You might be surprised at how much magic you can capture just by staying present and curious.
Frequently Asked Questions
What are some easy ways to use natural lighting without it looking washed out or too harsh?
The golden rule? Avoid direct, midday sun like it’s a deadline you missed! It’s way too harsh and creates those awkward shadows we all dread. Instead, aim for “golden hour”—that soft glow right before sunset—or find some gentle shade. If you’re indoors, face a window rather than having the light behind you. It creates this beautiful, soft diffusion that makes your skin look amazing without washing everything out.
Are there any specific free apps you'd recommend for quick, non-intimidating edits?
Honestly, don’t let the professional-grade software scare you off—I used to think I needed a whole studio setup, but it’s way simpler than that! For quick, non-intimidating tweaks, I swear by Snapseed. It’s free, super intuitive, and perfect for those “just a little more brightness” moments. If you want something a bit more stylized with gorgeous filters, try VSCO. Both are total lifesavers when you want to polish a shot without the headache!
How do I stop my photos from looking blurry when I'm trying to capture something moving?
Ugh, the dreaded motion blur—I’ve been there! It’s so frustrating when you capture a perfect moment, but it looks like a smudge. My go-to trick is to look for your camera’s “burst mode.” Instead of tapping once, hold that button down to take a rapid-fire series of shots; you’re much more likely to snag one crisp frame. Also, try to find a steady surface to prop your phone against if you aren’t moving!